
Veeam was so kind to invite me to take a look at their new product “Veeam Endpoint Backup Free”.
With this new product, Veeam now offers a possibility to backup physical hosts (eg. Laptops, Desktops running Windows 7 and higher, and Servers running Server 2008 and higher), what many of us customers have desired.
But they do not only close the gap to the physical world, they also offer the software for an interesting price: for free!
![]()
So what can you expect from “Veeam Endpoint Backup”?
The software enables you to perform the following types of backup of your physical devices:
- Volume-level backup to backup a whole image of a data volume (logical drive or partition)
- File-level backup to backup dedicated folders/files
- System State Data Backup to restore your Operating System
When you run the first backup, Veeam Endpoint Backup will perform a full backup which will take relatively much time.
The following backups are incremental forever. This means, only new or changed data relatively to the last backup cycle will be saved. The incremental backups will need less time than the full backup and need only little space (depending on how much has changed since the last backup).
The product supports a backup retention policy, too. You can define how many restore points are available – and the software will take care that you can go back in time for the defined number of backup cycles.
To restore date you can choose between two supported restore scenarios:
- volume-level restore to recover an entire system image of a complete volume/partition
- file-level restore to recover dedicated files and/or folders
To perform a Bare Metal Recovery (to recover the complete protected device incl. Operating System) Veeam Endpoint Backup lets you create a recovery image of your computer. This recovery image can be created on different kinds of media, eg. USB flash drives, SD cards, ISO images, CD, DVD,…
But now lets take a look at the installation – hands on!
Installation is as easy as we are used to from other Veeam products – start the installer, accept the EULA…
In the next window the wizzard will show us some components that will be installed:
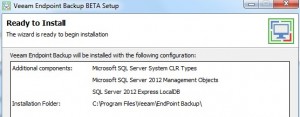
Veeam Endpoint Backup uses Microsoft SQL Server 2012 Express LocalDB Edition to store its configuration data. The LocalDB is executed as a sub-process launched by the Veeam Endpoint Service and only takes little resources of the host system.
On my Lenovo T510 Windows 7 the installation only took about four minutes – than I was able to start the software for the first time:
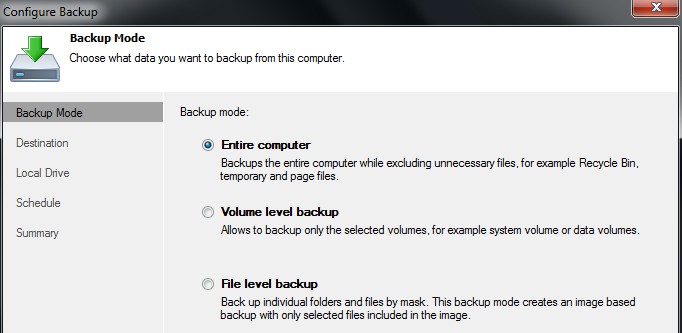
The first thing you have to do is to choose a backup mode. You can choose between:
- Entire Computer
- Volume level backup
- File level backup
Depending on what you choose the next wizzards steps are:
Entire Computer: select a destination (Local drive or a shared folder) – specify the destination/backups to retain – plan your schedule
Volume Level Backup: choose volumes to backup – specify the destination/backups to retain – plan your schedule
File Level Backup: choose individual files/folder – specify the destination/backups to retain – plan your schedule
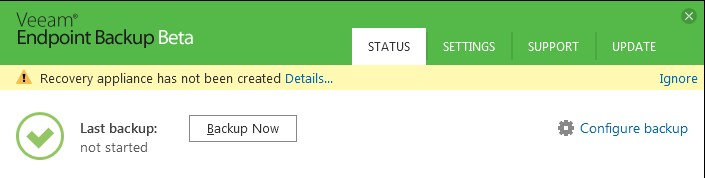
Very easy and self-explaining – when you have done it you can run your first backup cycle. As said before, the first backup will be a full backup – the next cycles will use incremental forever and are much faster:
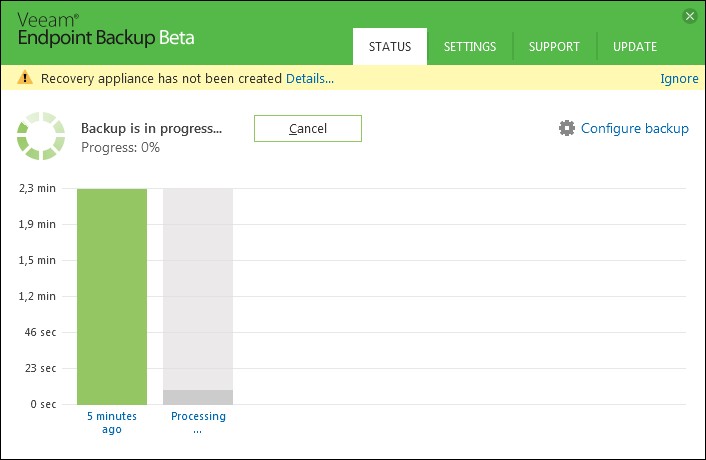
If you run a second backup you will see the progress of the actual backup and the previously ones:
Now let’s try a restore:
To restore, open the Restore Wizzard (File level restore or Volume level restore). Same as before, very easy and self-explaining:
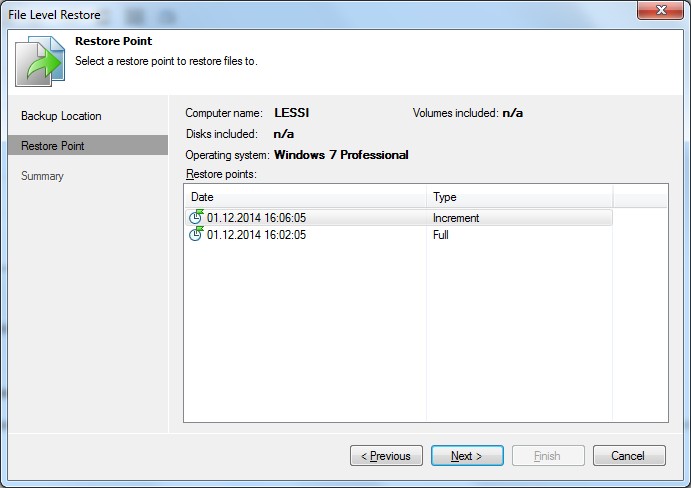
Select a restore point and start the restore! Done!
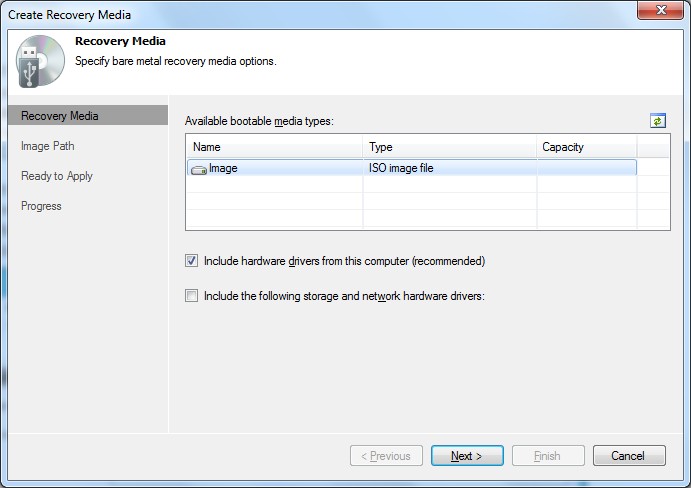
Create a recovery media for eg. bare metal restore:
To create a recovery media start the wizzard “Create Recovery Media” – as in the tasks before the wizzard is easy to use. In the first step you can specify available bootable media types and include additional network and storage drivers if necessary:
Now you can specify where you want to save the ISO:
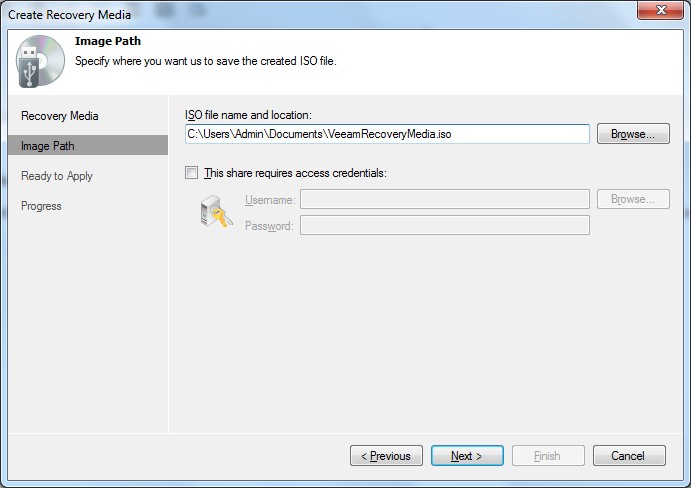
Two more clicks and the ISO Image will be prepared and saved to the choosen path.
You can now burn a bootable CD/DVD with the image or you build a bootable USB stick. To recover your entire computer just boot from the image and follow the wizzard – as easy to use as the rest of the product. If you want to read more: How to – create a Veeam Endpoint Backup Free Recovery Media
Integration with Veeam Backup & Replication:
In the Veeam Endpoint Backup Beta User Guide there was a notice, that in the BETA version the integration with Veeam Backup & Replication is disabled. But this feature will be available in the GA version of the product.
Summary:
With Veeam Endpoint Backup, Veeam offers a really easy-to-use but powerfull backup and restore tool for physical devices.
Offering the product for free is great for customers and will raise awareness of the brand “VEEAM” to the consumer market, too as this product is also useable for the “private sector”. For my part I will recommend this tool eg. friends and relatives who are computer-literate and often have problems to keep an eye on their backups.
Want to read more about Veeam Endpoint Backup Free? Here is the offical announcement from Veeam: Announcing: Veeam Endpoint Backup FREE
Where can I sign up for the beta?
Hello Vince,
I think you can sign up for the coming beta here: http://go.veeam.com/endpoint