If you are not used to working with the vSphere Managed Object Browser (MOB) it can be a little bit tricky to execute the QueryChangedDiskAreas.
Here is a step-by-step guide:
- create a snapshot of the virtual machine
- open a browser to https://IP_of_your_ESXi_host (if it is a vSphere ESXi 6 Host you have to enable MOB access)
- enter root credentials to access the ESXi host
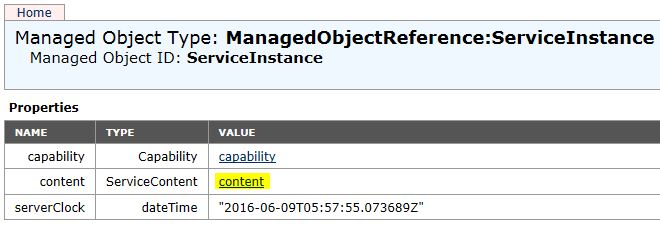
- select “content”

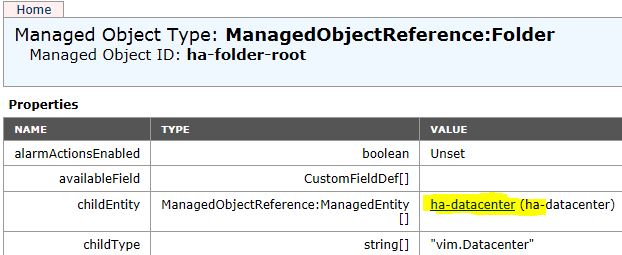
- search for “root folder / ManagedObjectReference:Folder” and select “ha-folder-root”

- search for “childEntity” in the properties area and select “ha-datacenter”

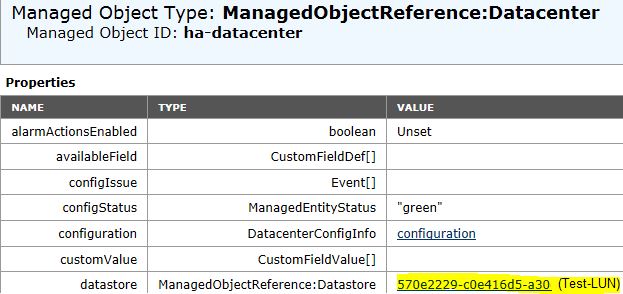
- now select the datastore where the virtual machine resides. You should find a list of the datastores in the properties area, search for Name: datastore | type: ManagedObjectReference:Datastore

- in the last line of the properties area you can find the value: vm – select the appropriate VM:

- now write down or copy the value “rootSnapshot | ManagedObjectReference:VirtualMachineSnapshot” – it should be something similar like “27-snapshot-68”:

- scroll down in the same window to the Methods area and look out for “QueryChangedDiskAreas” – click on the link:

- a new window will open – it is named “DiskChangeInfo QueryChangedDiskAreas”
Type in the following values:
Parameter: snapshot -> replace MOID with the value copied before (eg. 27-snapshot-68)
Parameter: deviceKey -> to query the first vmdk file, enter: 2000
to query the second vmdk file, enter: 2001
Parameter: startOffset -> enter: 0
Parameter: changeID -> enter: *

- to start the query, click on the link “Invoke Method”. You can print the output eg. using a pdf converter or copy it to a text-/wordfile.
