
This step-by-step manual should help you to migrate your Veeam SQL database to a new database server without dataloss.
Before you begin:
If your Veeam Server/database server is a virtual machine you can take a snapshot for fast recovery if necessary
Learn more about the supported SQL Server versions here: helpcenter.veeam.com
Step 1:
Stop all backup and backup copy jobs and disable them
Step 2:
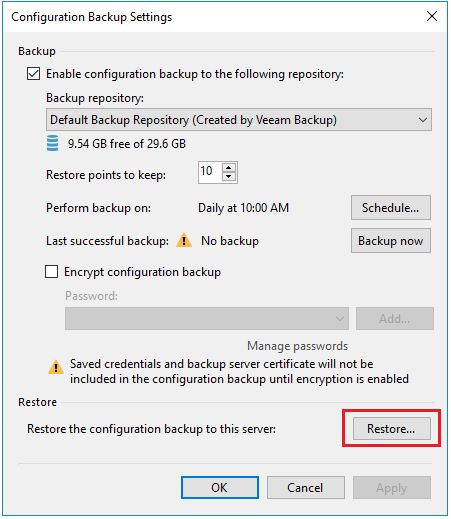
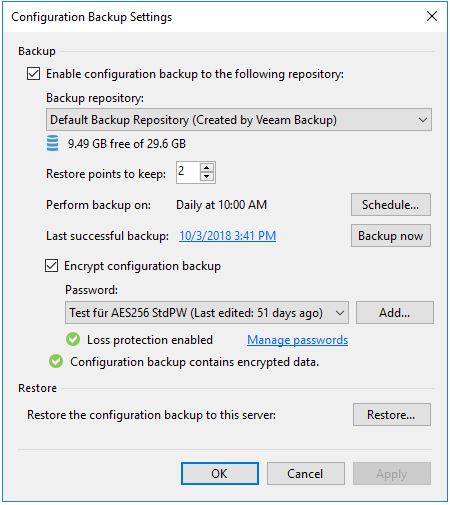
Open the Configuration Backup Settings. Perform a manual configuration database backup and take care that you keep it at a safe place. You can start a manual backup with the “Backup Now” button:

 Step 3:
Now it’s time to change the database configuration settings.
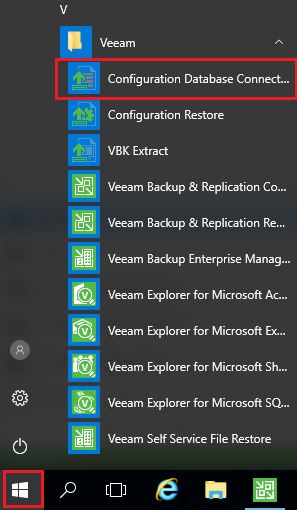
Open Start -> Veeam -> Configuration Database Connection Settings
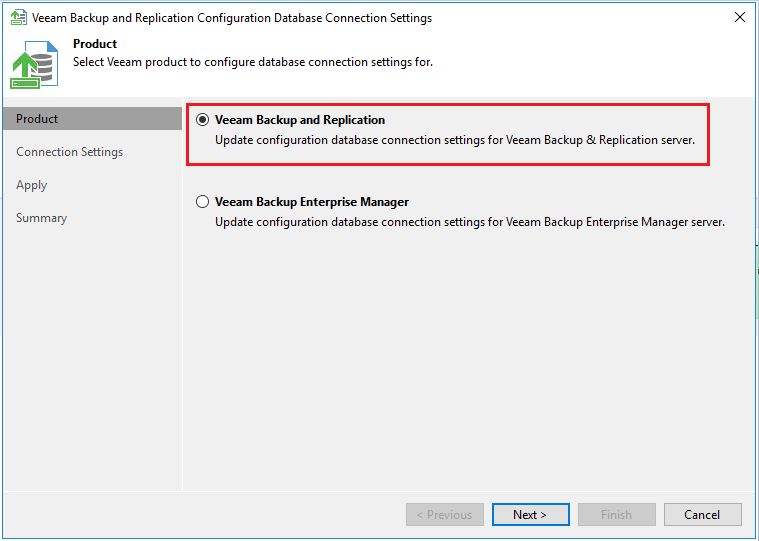
Select “Veeam Backup and Replication” and click “Next”
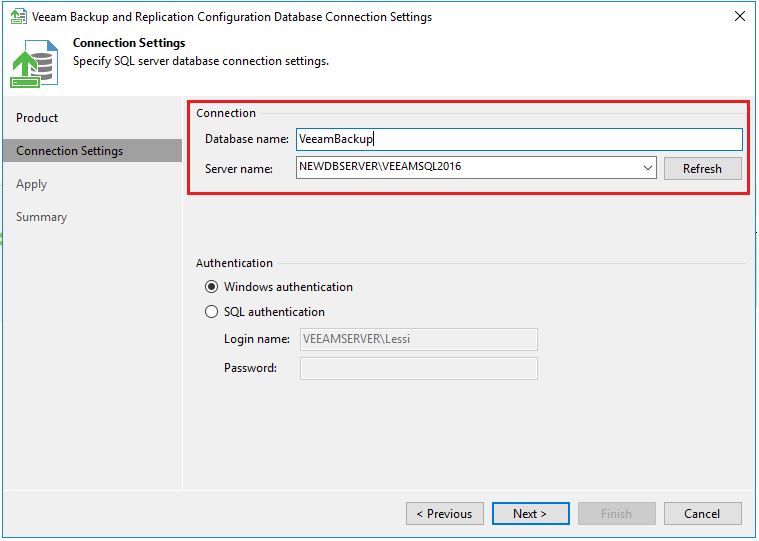
In the next window you can enter the server name of the new SQL database server. Here you can change the database name, too. If the database does not exists it will be created automatically. Provide the necessary credentials to access the database server and to create a database:
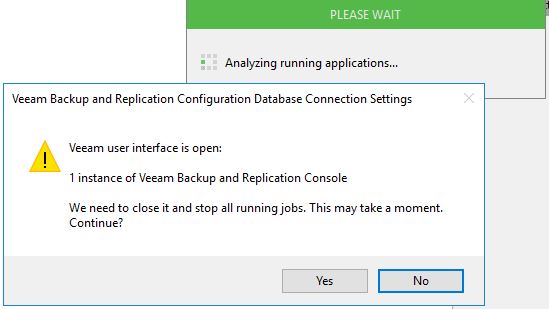
Answer the following question with “Yes”:
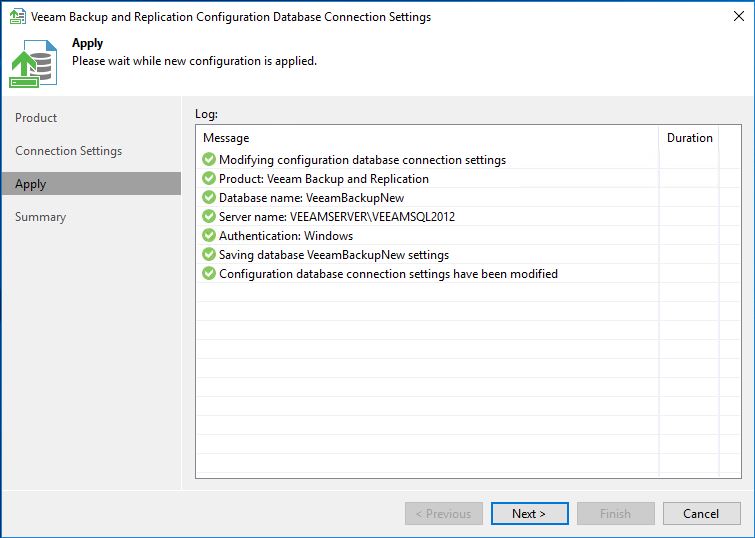
After some time you should see the following window. Click “Next” to proceed:
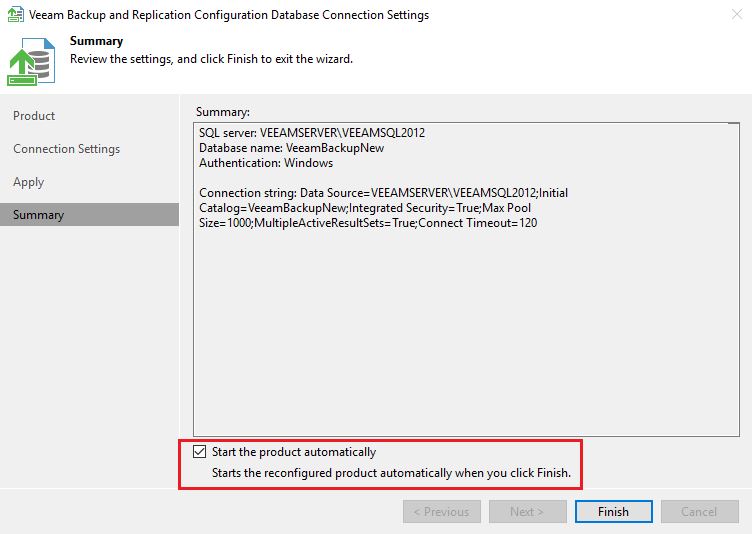
Select “Start the product automatically” and click “Finish”
Step 4:
Restore of the Veeam Configuration Database:
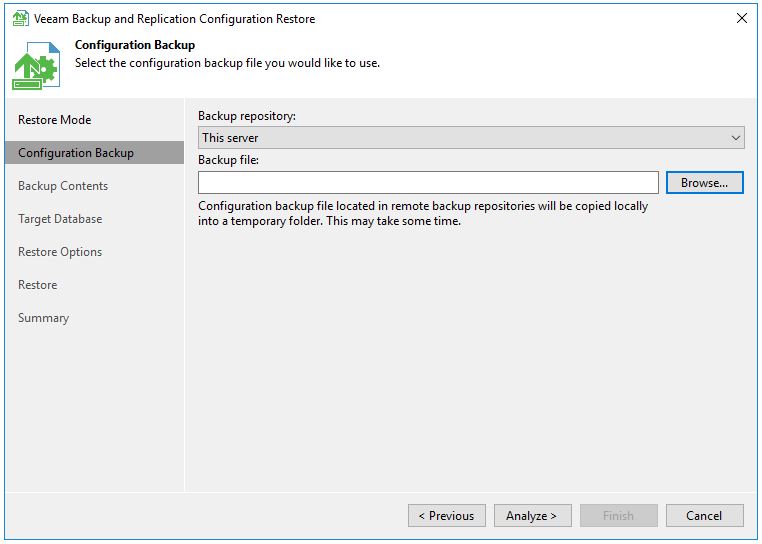
Open the Configuration Backup
Select “Restore”
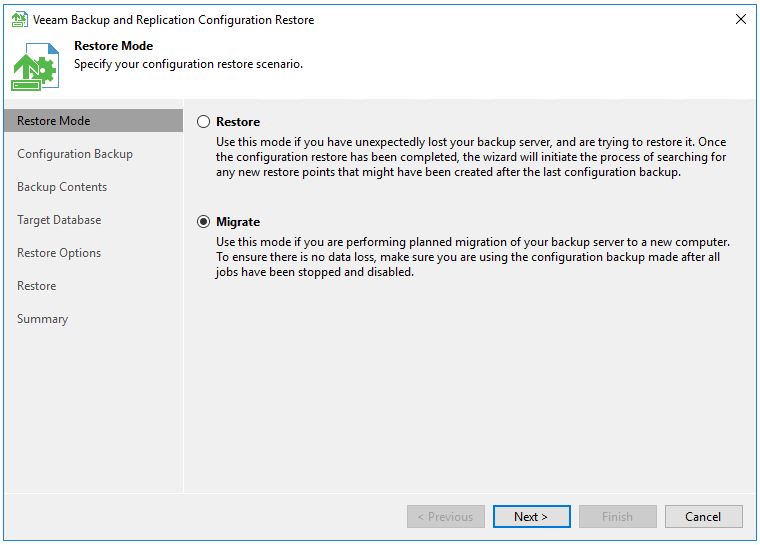
Select “Migrate”
Use “Browse” to enter the path to your Veeam Configuration Database Backup and click “Analyze”
The backup content will be displayed, click “Next” to proceed

Specify the configuraton backup’s password and click “Validate”:

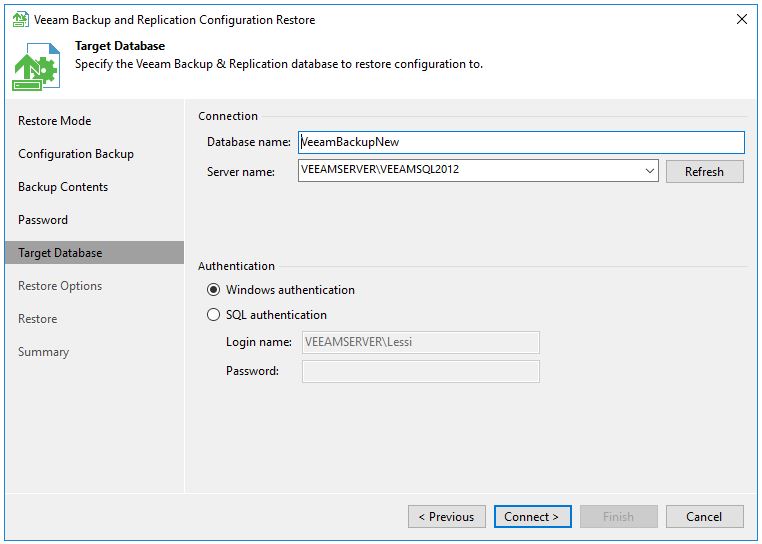
The next windows should already display the settings of the new database server / database name. If necessary provide credentials and click “Connect”
Click “Yes” to proceed:

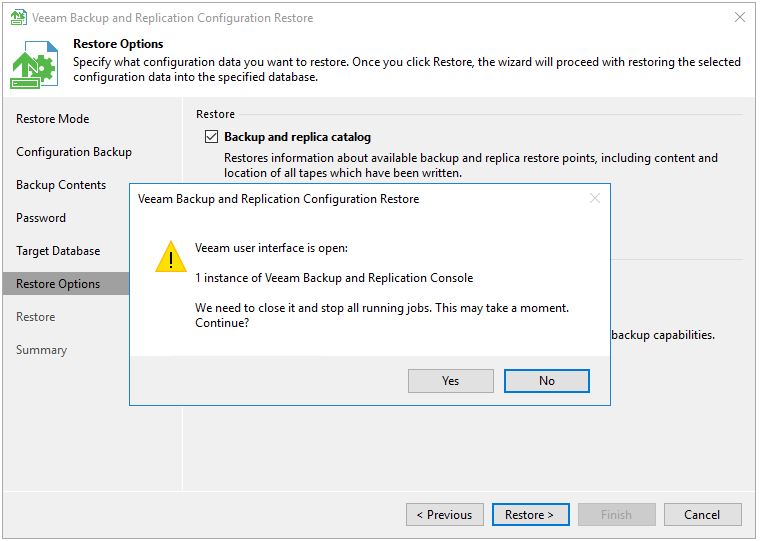
Uncheck “Backup existing database before configuration restore” and click “Restore”

Answer the following question with “Yes” to proceed:
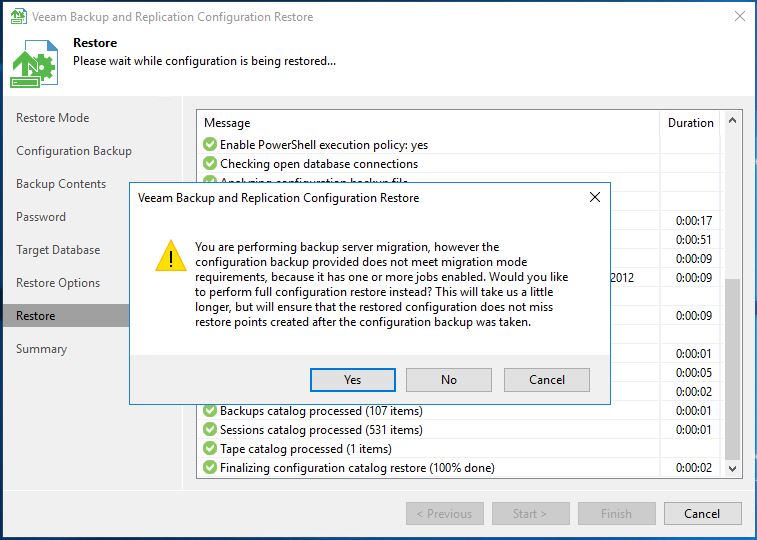
Now the database restore starts. It will take some time until you can answer the following question with “Yes”:
Click “Next” in the Credential Window. Finally the following Summary should be displayed. Click “Finish”:

Step 5:
Open the Backup Enterprise Manager
select “Configuration”
select “Key Management”
click “Activate” to reactivate the Enterprise Manager Key for your Veeam Backup & Replicaton Server
Step 6:
Last but not least you should take care to reschedule your configuration database backup. Open the “Configuration Backup” Settings and check twice if you can see the green tick “Loss protection enabled”.
Configure all necessary settings to ensure that you have a working configuration database backup. You can now immediately perform a backup of your new configuration database.
Congrats, you have successfully changed your Veeam database settings.
Do not forget to enable your backup and backup copy jobs. Take a closer look at your backup infrastructure to ensure that everything is working as expected.