
vCenter Orchestrator is a powerful workflow tool to automate processes in your VMware vSphere infrastructure as well as with other third-party technologies (eg. SQL, Active Directory,…).
Although vCenter Orchestrator license is packaged with your vCenter Server and can be used with no additional costs, a lot of people are probably not using it. Even they do not know that it exists.
It took me a long time, too, till I installed the vCO Appliance for the first time – but it is really a great tool, worth taking a closer look at.
For example you can build very basic workflows to automate some every-day-tasks as eg. server provisioning, or even create extreme complex ones, with integration of Active Directory or SQL,… .
You can install vCO on a windows server, or you go the easy way and use the virtual appliance.
I decided to use the virtual appliance – you can download it here: download vCenter Orchestrator appliance
This how-to includes the following chapters:
- vCenter Orchestrator default users/logins and passwords
- How to install/configure the vCenter Orchestrator appliance
- Orchestrator configuration
- How to import SSO service/vCenter Server certificates
- How to configure SSO authentication
- Activate/Manage Plug-ins
- Define a vCenter Server
- Check webclient integration
- Start your first workflow
- Create your first workflow
1. vCenter Orchestrator default users/logins and passwords:
When you work with the vCenter Orchestrator appliance you will have to deal with four different credentials… this is a little bit tricky at the first glance. Here you can find a list with all default user/passwords:
- login to the vCO appliance configuration: root | vmware
- Orchestrator Configuration: vmware | vmware (you have to change it during first logon)
- Orchestrator Client: vcoadmin | vcoadmin
- Web Operator: vcoadmin | vcoadmin
2. How to install the vCenter Orchestrator appliance:
- download binaries for vCenter Orchestrator appliance
- open your vSphere Client/Webclient
- “File” – “Deploy OVF Template”
- browse to the downloaded binaries
- verify the template details:
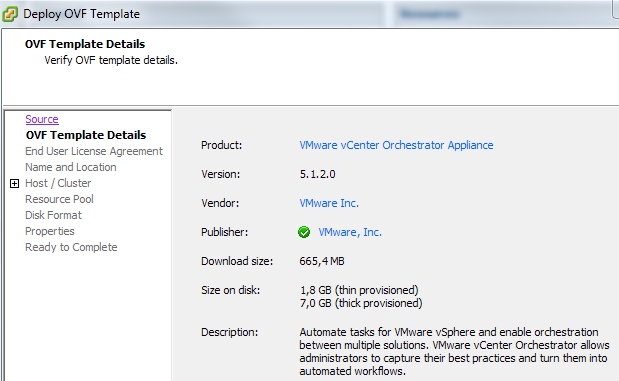
- accept the EULA
- specify a name and location
- specify a host/cluster
- specify a destination storage
- specify disk format
- select the network mapping
- specify the properties of the appliance
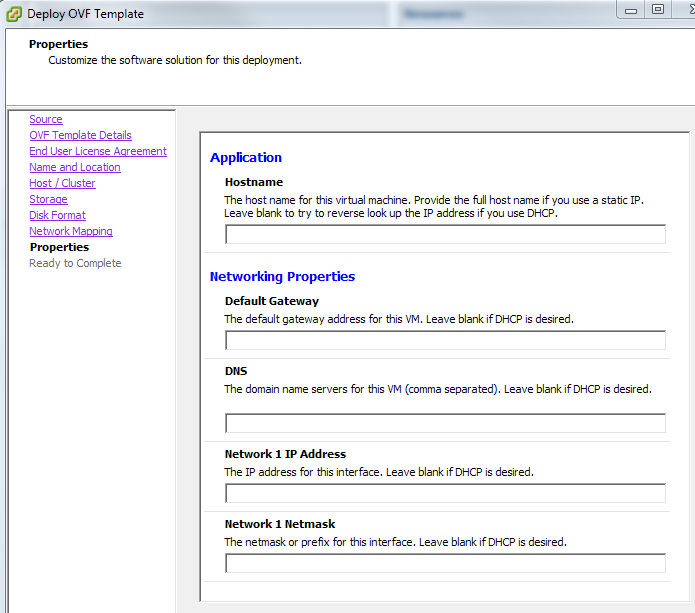
- review your settings and click finish to deploy the appliance
After deploying the appliance successfully, open a webbrowser to the IP address of the appliance
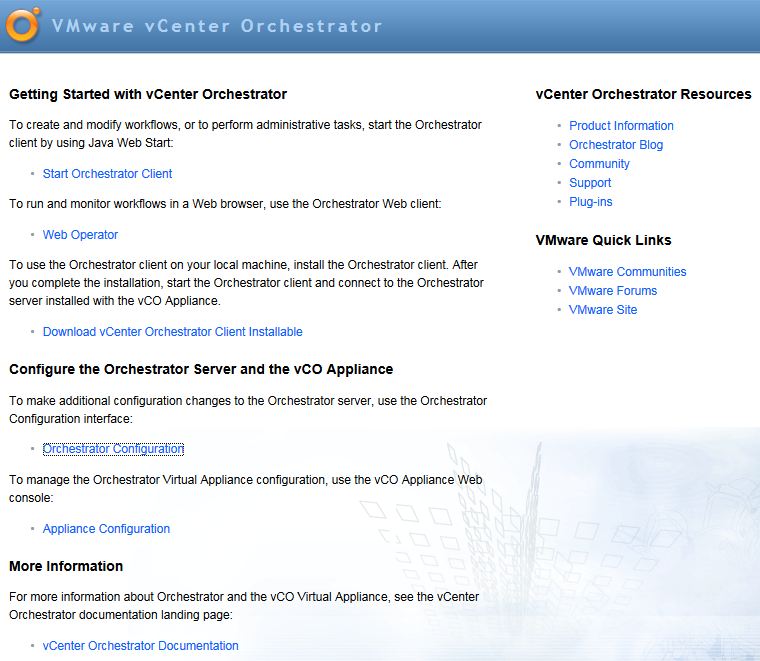
Select „Appliance Configuration“ to change the root password and (if you want it) to enable SSH. Login with the default user: root | password: vmware
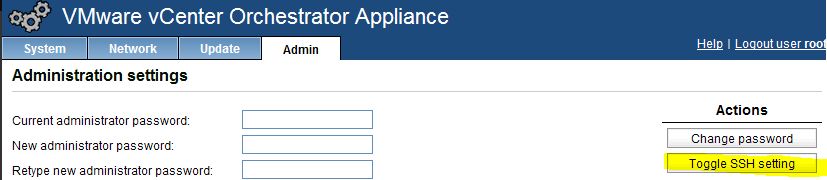
Open the Admin Tab – here you can define a new password:

If you want to enable SSH select „Toggle SSH setting“ from the Action Tab at the right:
3. Orchestrator configuration:
Before we can start with the first workflow you have to make some additional configurations to the Orchestrator Server. Use the link to the “Orchestrator Configuration”.
For the first login use the default user/password: vmware, vmware – you will be prompted to change the password.
The Orchestrator Configuration GUI is self explaining – problems may occure, when you try to configure the Authentication mode (LDAP or SSO authentication) or when you import the necessary certificates.
4. How to – import SSO service/vCenter Server certificates:
Before we can configure the SSO authentication we have to import the certificates from the SSO service and the vCenter Server. You can find all installed certs in the SSL Trust Manager (Network – SSL Trust Manager Tab):

To import the certificates, perform the following steps:
- select “Startup Options” – “Stop Service”

- select “Network” – open the “SSL Trust Manager” Tab
- to import the vCenter Server Certificate enter the following URL and click “Import”: https://IP_of_vCenter_Server:
443 - the properties of the certificate will be displayed – click “Import” again
- when you get the message: The SSL certificate is successfully imported repeat the import-steps with the URL for the SSO Service: https://IP_of_SSO_Server:7444
5. How to – configure SSO authentication:
After you have successfully imported the certificates change to the “Authentication” menue. Per default LDAP authentication is used, change it to SSO authentication:
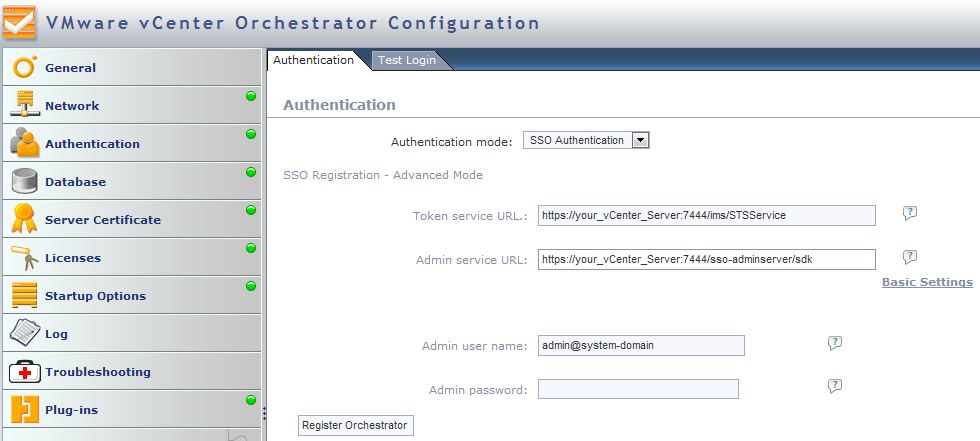
You can choose between two options: Basic Mode or Advanced Mode.
I strongly recommend to use the Advanced Mode – as I noticed some problems when using the Basic Mode. In both options most settings are pre-set (eg. Token service and Admin service URL, Host…).
You will only have to insert the SSO Server IP address and provide the SSO Admin‘s user name and the SSO Admin‘s password.
The default SSO user is admin@system-domain (vSphere 5.1) or administrator@vsphere.local (vSphere 5.5). You have set the password for this user during SSO installation.
Click “Register Orchestrator” and wait for the following message:

In the same window you can now configure who will be a vCO-administrator. Select an AD group and click “Accept Orchestrator Configuration” when you have made your choice.
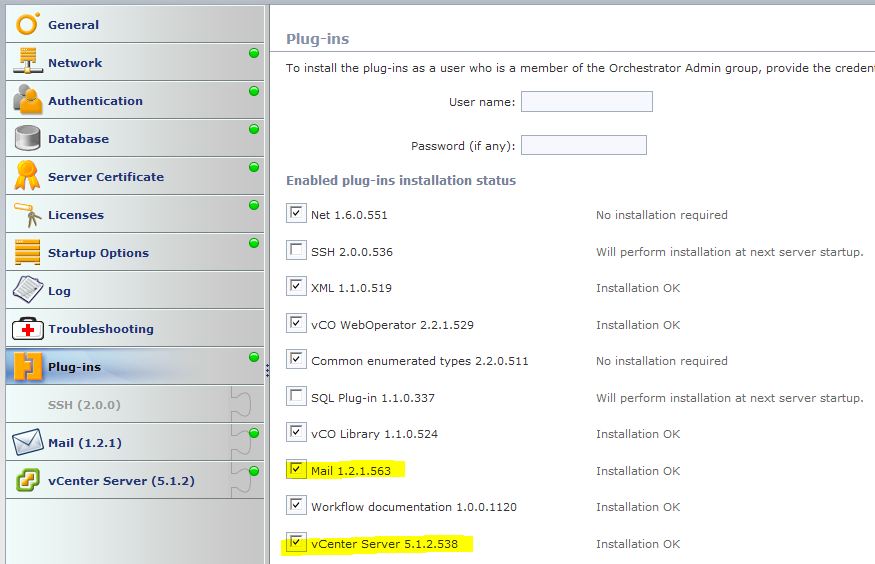
6. Activate/Manage Plug-ins:
There are a lot of pre-installed Plug-ins available – but you will have to activate some of them dedicated. Change to the Plug-In menue and select eg. the vCenter Server Plug-in. To make the activation effective restart the appliance!
7. Define a vCenter Server:
Change to the vCenter Server Tab to define your vCenter Server. Use the “New vCenter Server Host” tab to enter the necessary information. I would recommend you to use the following parameters:
- Available: Enabled
- Host: IP of your vCenter
- port: 443
- check secure chanel
- Path: /sdk
- use session per user
- Domain: System
- Username
- Password
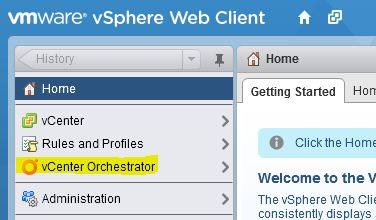
8. Check Webclient integration
Open your vSphere Web Client and change to the vCenter Orchestrator Tab:
Check if your vCO applianced is used to manage your vCenter Server
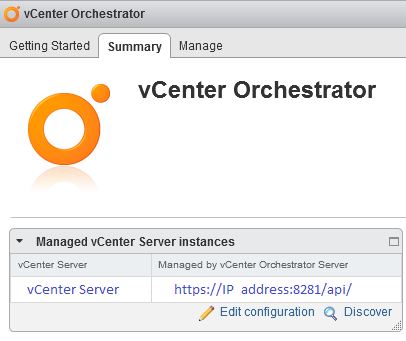
- If no -> check if you used an authorized user for vCO to login to your webclient (or maybe it is time to restart your appliance)
- If yes -> congrats – you have successfully installed vCO and it is time to take a look at the workflows coming along with vCenter Orchestrator.
9. Start your first workflow:
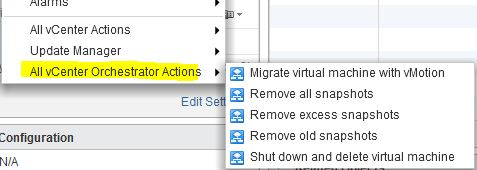
Now it’s time to test if the predefined workflows are working – open your vSphere Webclient and right click on any object (eg. virtual machine,…).
You will see, that the context menue is extended with vCenter Orchestrator Actions (=workflows). If you want, select one of the predefined workflows and give them a try.
10. Create your first workflow:
There already exist great sources about how to start your first workflow. I recommend you to take a look at the following three youtube videos, uploaded by VMware:
- Developing your First VMware vCO Workflow (part 1)
- Developing your First VMware vCO Workflow (part 2)
- Developing your First VMware vCO Workflow (part 3)
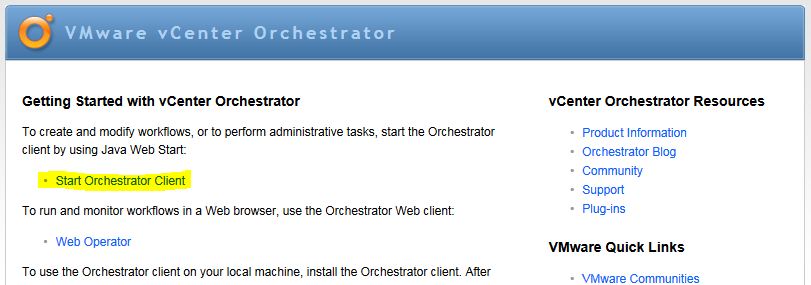
To start the orchestrator client, open a webbrowser to your appliance and select “Start Orchestrator Client”:
Thank you for this awesome summary!
if you use an dns-alias for the vcenter webinterface and login via the alias url you won´t see the vCO Server in the webinterface under Orchestrator Servers
sorry false information it was a problem with the userrights
Thank You!
Very useful post. There are not that many posts out there