Looking for part 1 of this blog article? Click here…
Step-by-step guide how to upgrade Veeam Backup & Replication to Update 4
- Start the Setup.exe with “Run as administrator”
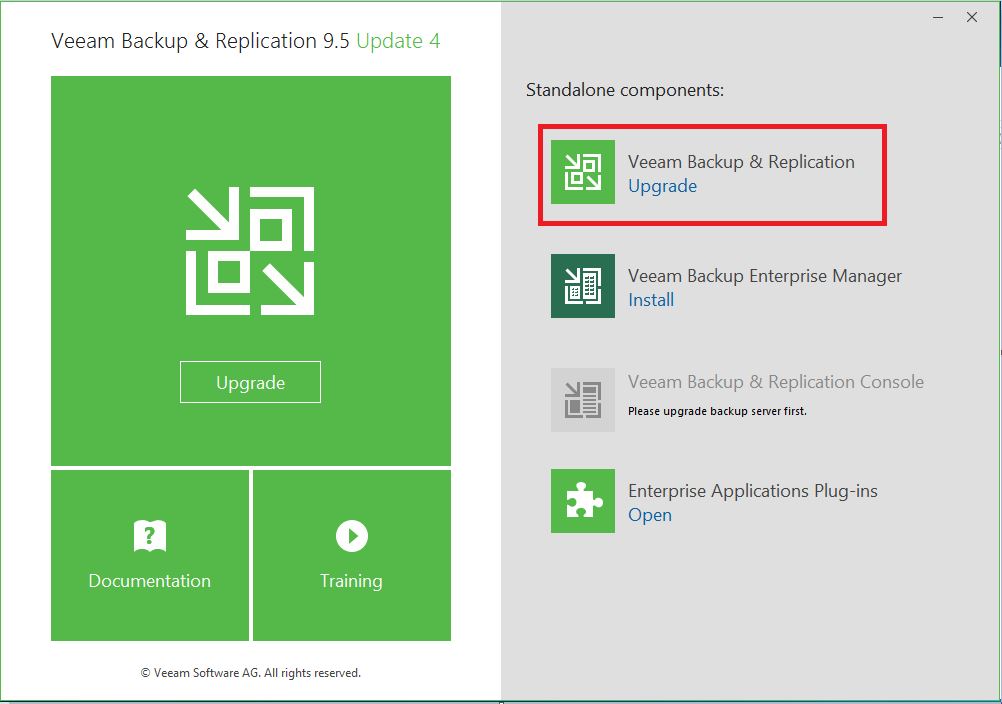
- start the upgrade for Veeam Backup & Replication
- accept the license agreement -> click next
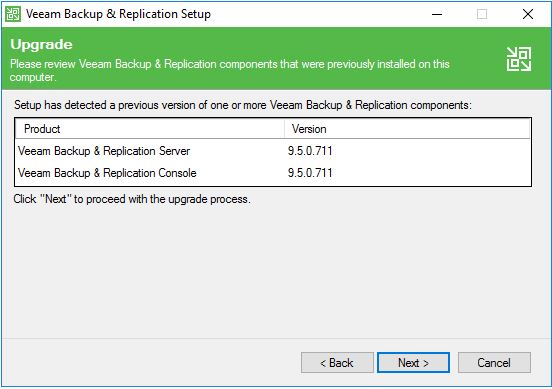
- review the installed components and click “next”
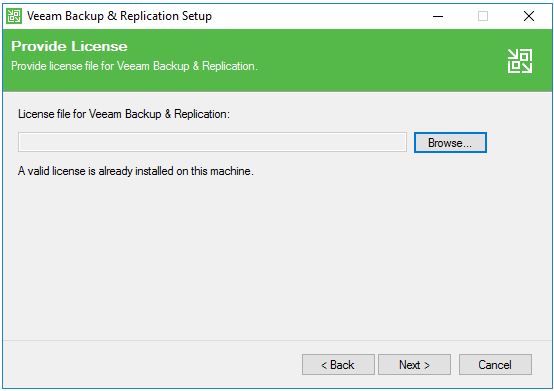
- provide a valid license file for Veeam Backup Enterprise Manager:
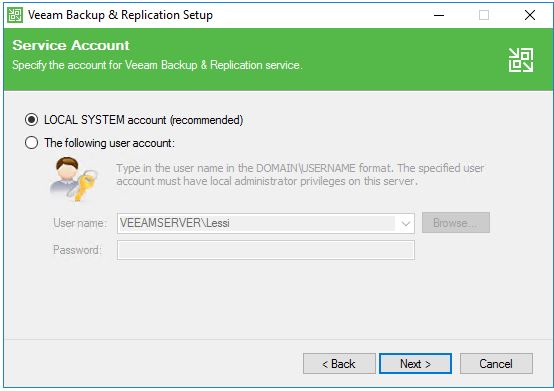
- specify Veeam Backup & Replication service account credentials. Its recommended to use the Local System account:
- specify the SQL Server Instance for the Veeam Backup & Replication database:
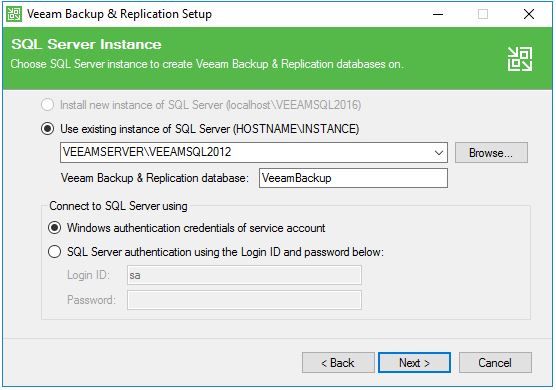
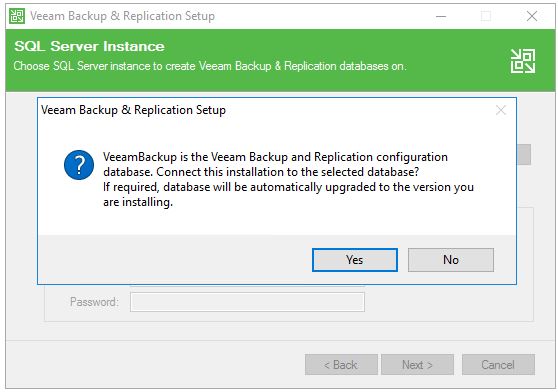
- click “Yes” to proceed:
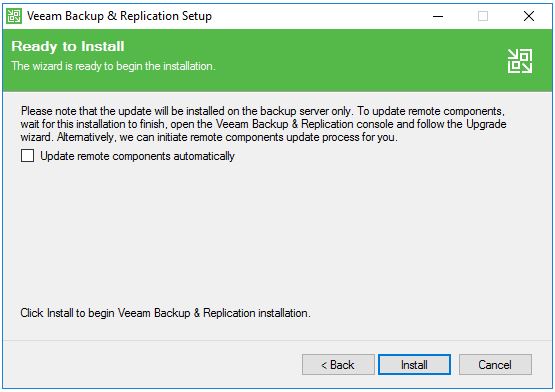
- enable “Update remote components automatically” if this is applicable for you. If you want to perform these upgrades later in the console do not tick the box. Click “Install” to start the upgrade process.
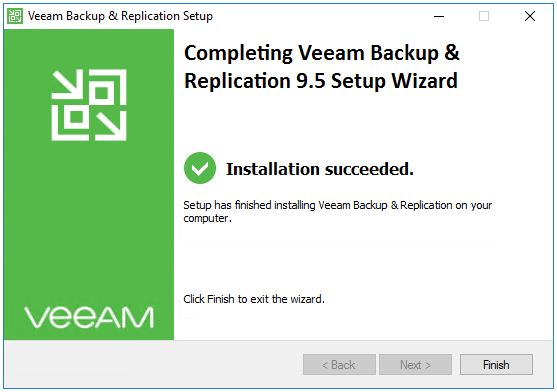
- after some minutes you should see a notice stating “Installation succeeded”. Click “Finish” to proceed with the upgrade of Veeam Backup & Replication.
Note: it’s always a good idea to restart your system after an upgrade…
When the upgrade finished successfully please check if everything is working as expected.
Do not forget to enable any scheduled jobs that you have disabled before the upgrade.
When everything is fine you can delete the snapshots (if you created any for safety reasons)
