Homelabs – best invest in your education

I am a huge fan of homelabs. I can test software, learn for exams (eg. Veeam VMCE, VMware VCP,…) or investigate error scenarios from customers.
My current homelab is not very powerful, but I am able to run a good number of virtual machines and nested ESX hosts. It is running on a HPE DL360 Gen8 server with 2×6 Cores and 160 GB RAM.
To save power I use a powerplug that I can switch on/off with Amazon Alexa or a smartphone app. All virtual machines and nested ESX hosts are configured to power on automatically.
Unfortunately, when on the road I had no possibility to connect to my homelab. I tested different possibilities over time, but I was not really happy with any of them. But then a colleague told me about Veeam Powered Network (VeeamPN) for simple and secure VPN networking. VeeamPN is easy to deploy and it is free of costs!
Here is a brief overview how I can now connect from remote to my homelab:
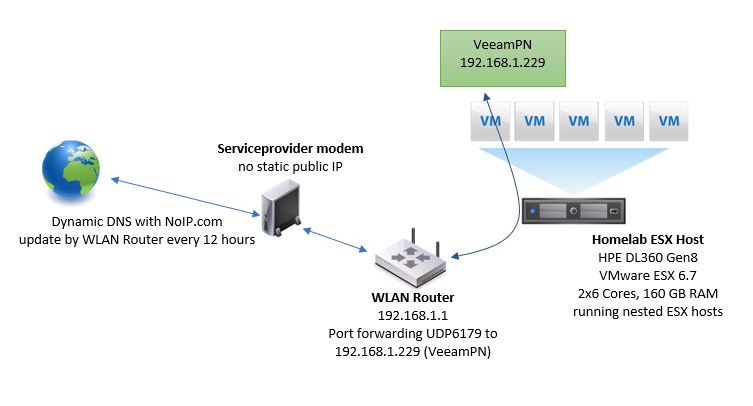
Veeam Powered Network is running as a virtual appliance on my ESX host. I connect to VeeamPN with an OpenVPN client running on my notebook. As my public IP address changes every 24 hours in the worst case, I use NoIP.com as a dynamic DNS service. Luckily my WLAN Router (Xiaomi Router 3) works together with NoIP.com and takes care that an IP change not remains undetected.
These steps are necessary if you want to use VeeamPN, too:
- if you do not own a static public IP address use a dynamic DNS service like NoIP.com or similar
- deploy the VeeamPN appliance
- configure port forwarding if necessary
- configure VeeamPN for your notebook
- install/configure an OpenVPN client on your notebook
How to deploy the VeeamPN appliance
Some helpful hints:
Extract the .ova file before deployment. Then you can provide the deployment wizard with the OVF and VMDKs as separate files.
If deployment of the OVF fails using vCenter, try to deploy it directly to an ESX host.
- connect to your vCenter
- rightclick VMware Host – “Deploy OVF Template”
In the deployment wizard window perform the following steps:
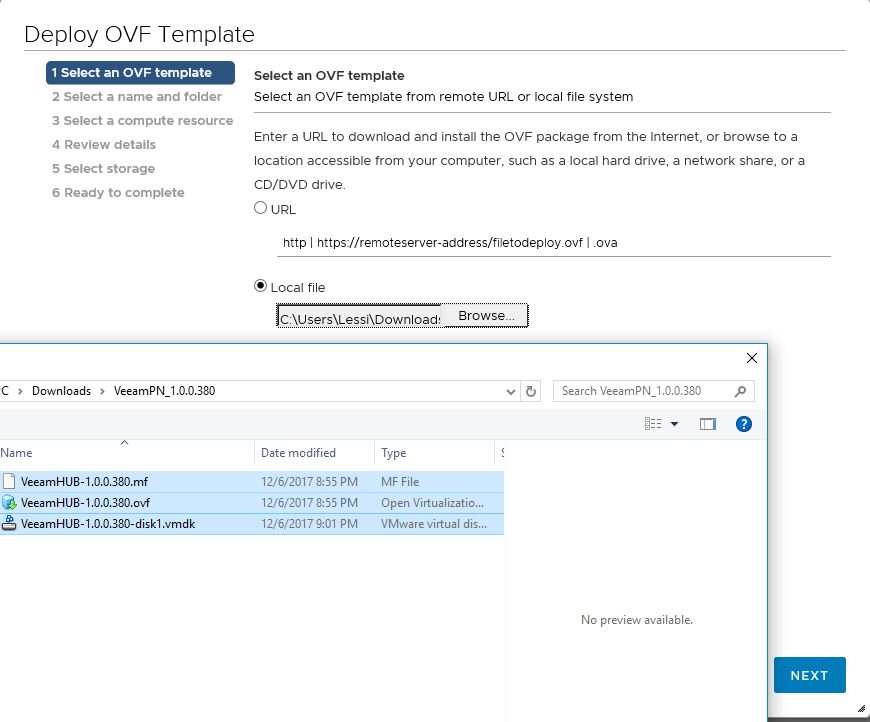
- select “Local file” and mark all three downloaded extracted files. Then click “Next”
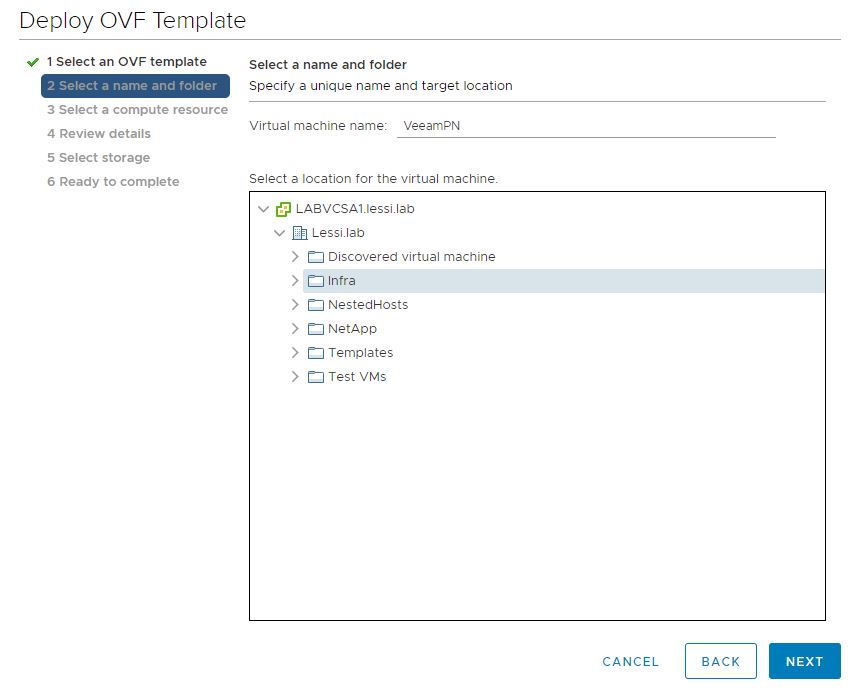
- specify a unique name for the virtual machine
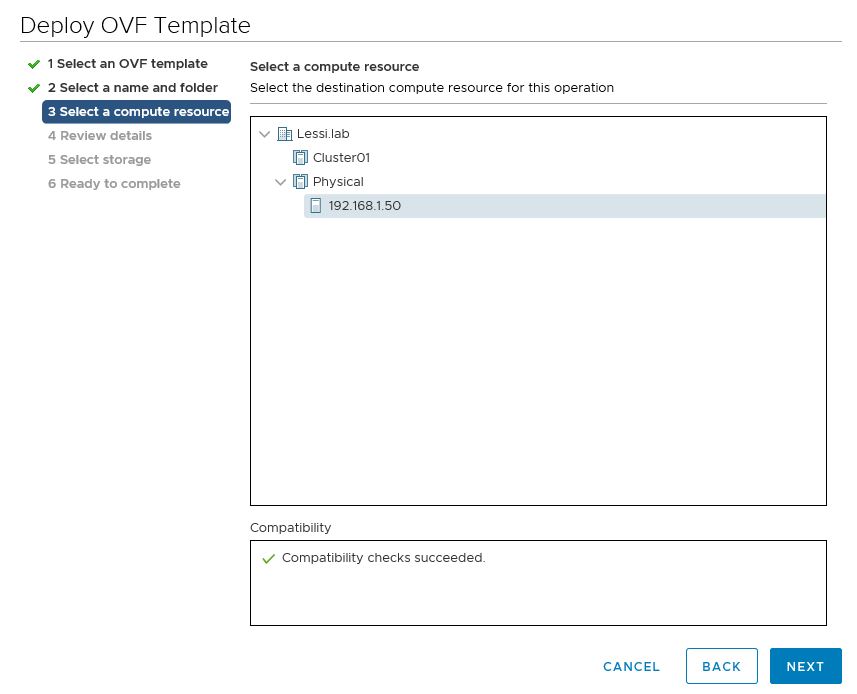
- select a destination host for your appliance
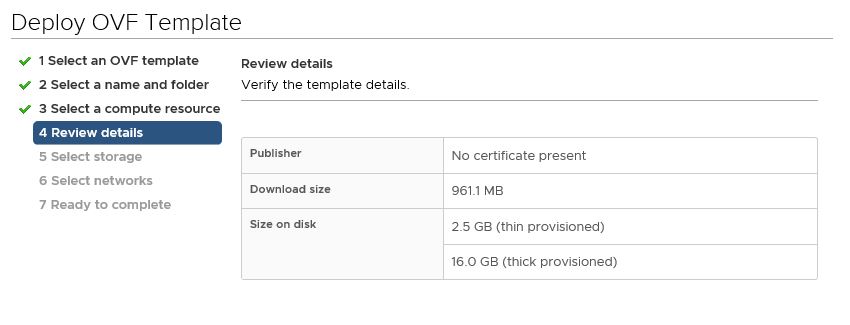
- review the details
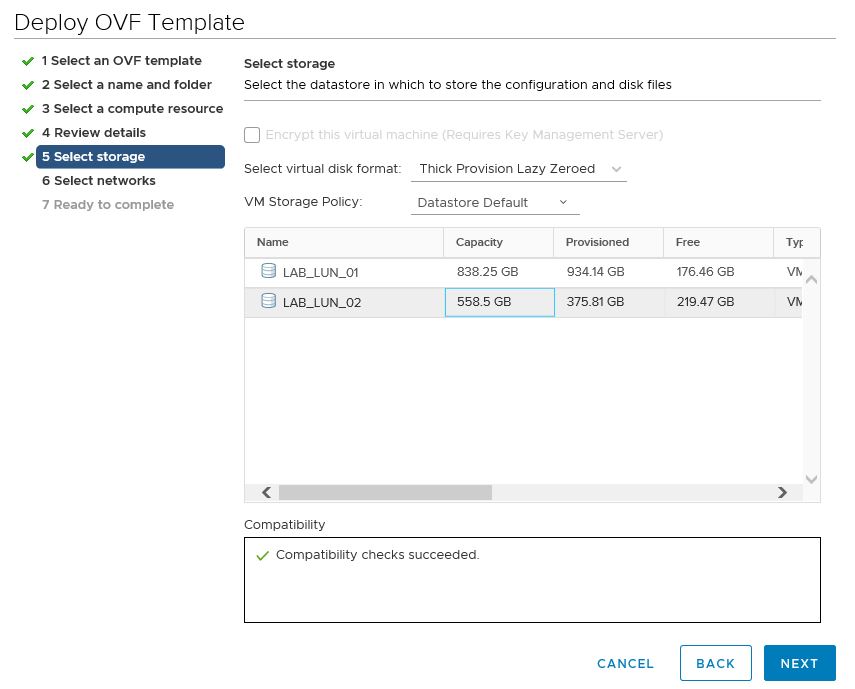
- select the datastore where you want to deploy the appliance
Note: 16 GB storage are necessary for the appliance
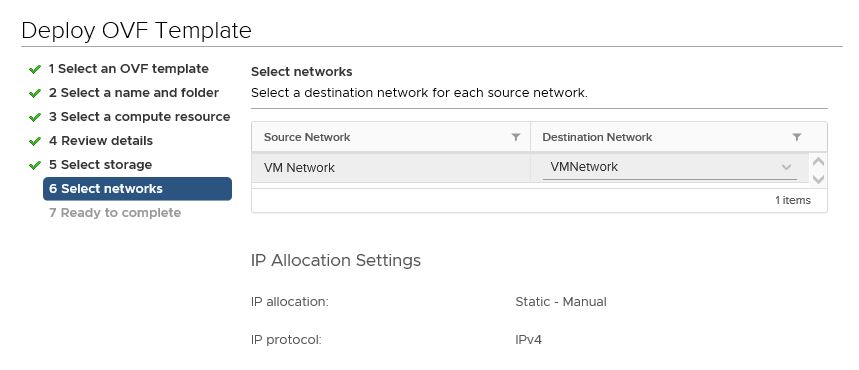
- define the network settings for the appliance
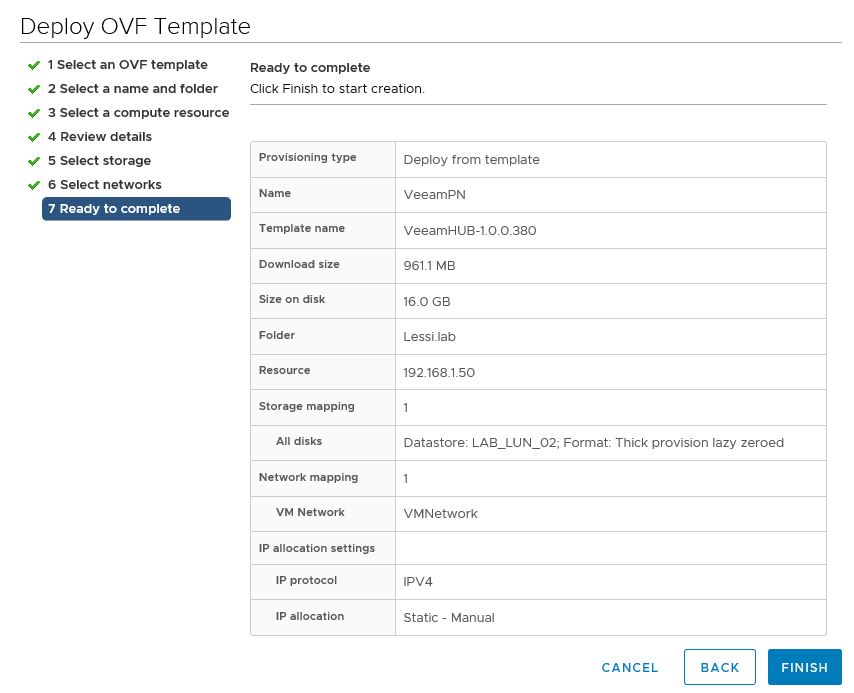
- review the settings and click “Finish” to start the deployment
VeeamPN configuration
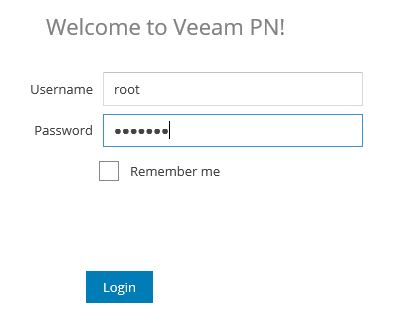
When the VeeamPN Appliance is up and running find out the IP address (vSphere Web Client – Summary Tab). Open a browser and connect to the IP. For the first login use the following credentials: User “root” and password “VeeamPN”.
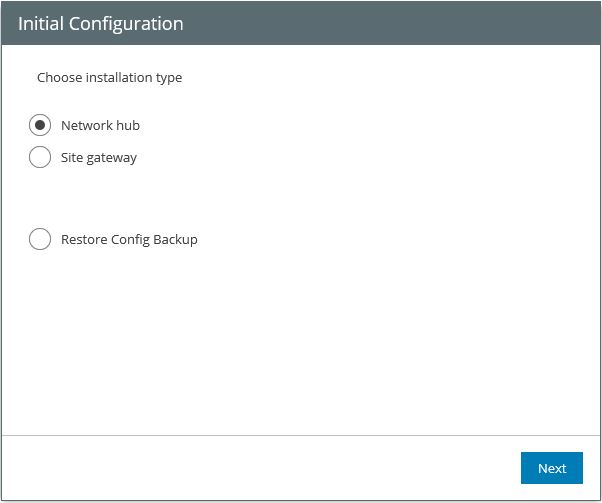
In the first step of the initial configuration window choose “Network hub” as installation type:
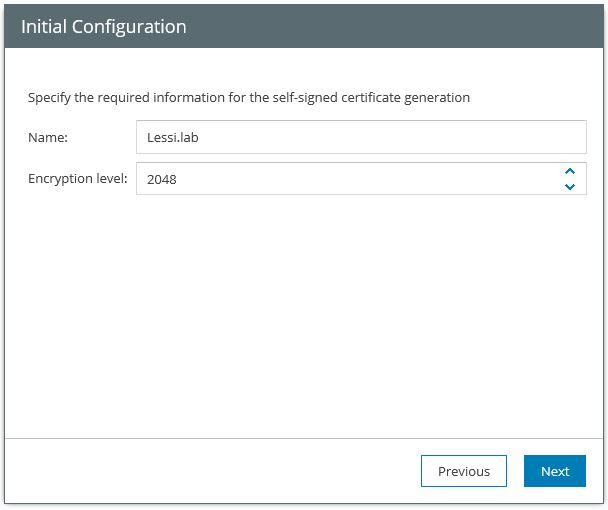
Specify the parameters for the self-signed certificate: your name or company name and the encryption level:
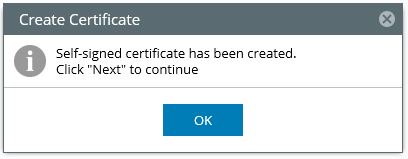
Veeam will now generate a self-signed certificate for you. This can take some minutes:
Now specify a public IP or DNS name. If you use NoIP.com use your dynamic DNS name, eg. example.ddns.net. As I want a point-to-site VPN I enabled the second tick box. Then click “Finish”.
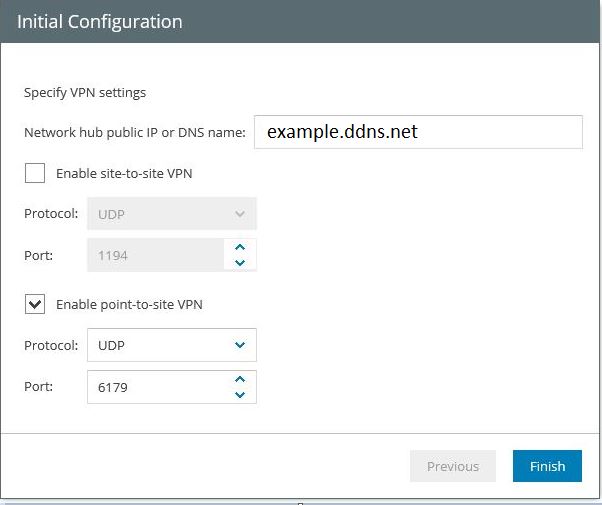
As you can see in the screenshot above the used protocol is UDP / Port 6179. Do not forget to forward this port on your router to the internal IP address of the VeeamPN appliance.
Add a client profile to VeeamPN
Now you can connect to the VeeamPN appliance with a webbrowser to configure a client profile for remote access.
Open a webbrowser and connect to the internal IP address of the appliance. Login with user root and your password.
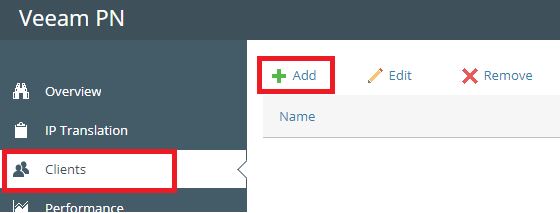
To add a client profile for your notebook/client select “Clients” on the left side of the window and then click “Add”:
- select “Standalone Computer”
- specify a name for your profile (eg. Notebook)
- enable the tick box “Use HUB server as a default gateway (all internet traffic will go through HUB)”
- Finish
Configure your VPN Client
The last step is to download an OpenVPN Client (eg. OpenVPN Community Download) and configure your VPN settings.
VeeamPN offers you the possiblity to download a ready-to-use configuration file which you can import in your VPN Client. You can find the configuration file download in next to your client profile.
That’s it – have fun with your homelab when you are on the road!
Summary
VeeamPN offers you a secure and easy to deploy solution to connect to your homelab. It only takes you about 30 minutes to configure and test all necessary components. And the best: it is free of costs!
